

Travel - Dolomites
This trip was led by master photographer, Leonardo Papèra, whose company is Tuscany Photographers Tours.
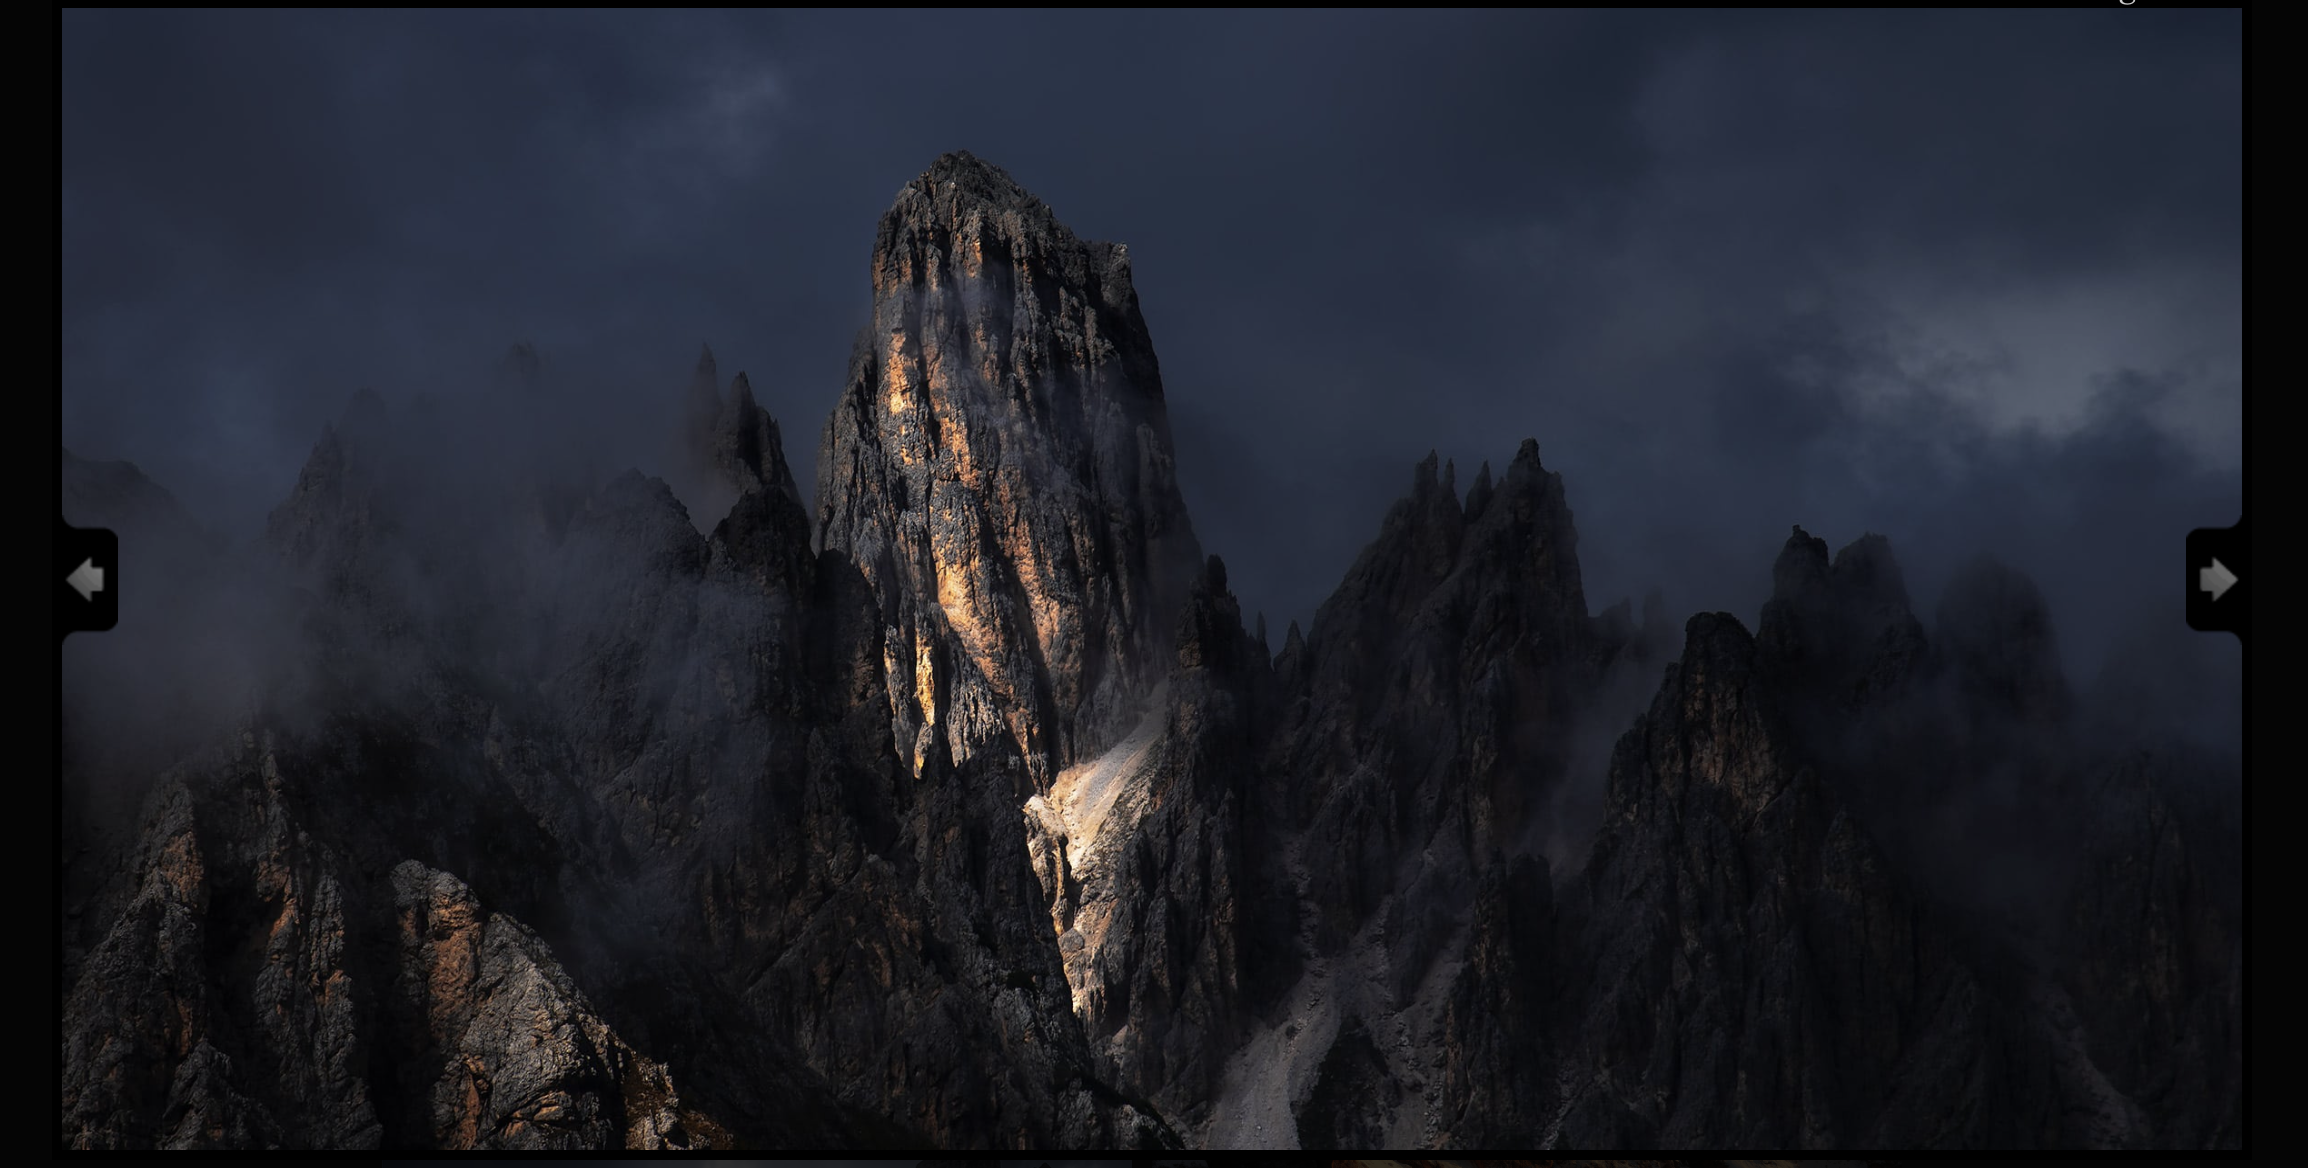
The reason I was so excited to take this trip, is because of what I had heard and seen in pictures and because of the stunning landscape images our workshop leader Leonardo Papèra had taken of them! Below is a screen shot I took of one of his outstanding compositions from his gallery. So if you think my pictures are good in my gallery, and I am very happy with them, it is clear, Leo is the Master of landscape photography!
Day 1: Tre Cime di Lavaredo
The itenary for this trip can be found here. After pickup in Venice in a nice new black Mercedes van, Leo drove us to the town of Cortina (an important site for the 2026 Winter Olympics).
After lunch and a quick lunch, unpacking, and a short nap, we headed to Passo Giau, a high-altitude mountain pass. The hike was about 20 to 30 minutes. It was awe inspiring. And it was steep. But what a great way and site to start this fantastic photographic workshop.
If you are interested in photographing the Dolomite’s and learning from a master landscape photographer, I would recommend subscribing to his you tube channel. The video is of Leo himself at the Cime di Lavaredo
This is an example of one of the photos you will find in the Dolomite’s gallery. This image is off the south side of Drei Zinnen. The building is the Refugio Auronzo Lodge.
And this a shot looking towards the three peaks of Cimma Piccolo (little peak), Lima Grande (big Peake) and Lima Ovest (western peak). I feel this was one of my best shots at this location and one of the best shots I took during the trip. Leo had us jump in early, with some hiking, and a fantastic location to get great landscape photos.
I shot this using my Sony A 7R Mark V on a tripod. The lens was my 24 to 70 mm f/2.8 master and it was shot at the 34mm setting. The aperture was set at f/8.0 and a 1/160sec shutter speed. One of the key successes in this image is SHARPNESS. And in this workshop, I learned a lot about how to take a pin sharp images. An aperture of f/8.0 is considered a good rule of thumb for sharpness, though some claim with more modern lenses, like my GMaster f/2.8 zoom, the aperture could be even more open at f/4.0 for just as good of quality as f/8.0. The other thing we did was to use a 2 second delay for the shutter. For exposure, in order to expand the dynamic range, which is important to capturing great images at sunset and sunrise, is using photo stacking. The parameters Leo used for photo stacking went well above what I have attempted to do on my own. Leo’s method was 2 stop steps, and using three different exposures. The results speak for themselves! We used these types of setting generally all throughout the trip! If you were wondering if I turned image stabilization off having the camera mounted on a tripod, the answer is no, even though many say you need to do this. I would say based on the pin sharpness I was able to realize, turning stabilization off isn’t necessary for my Sony A 7R V.
Day 2: Passo Giau
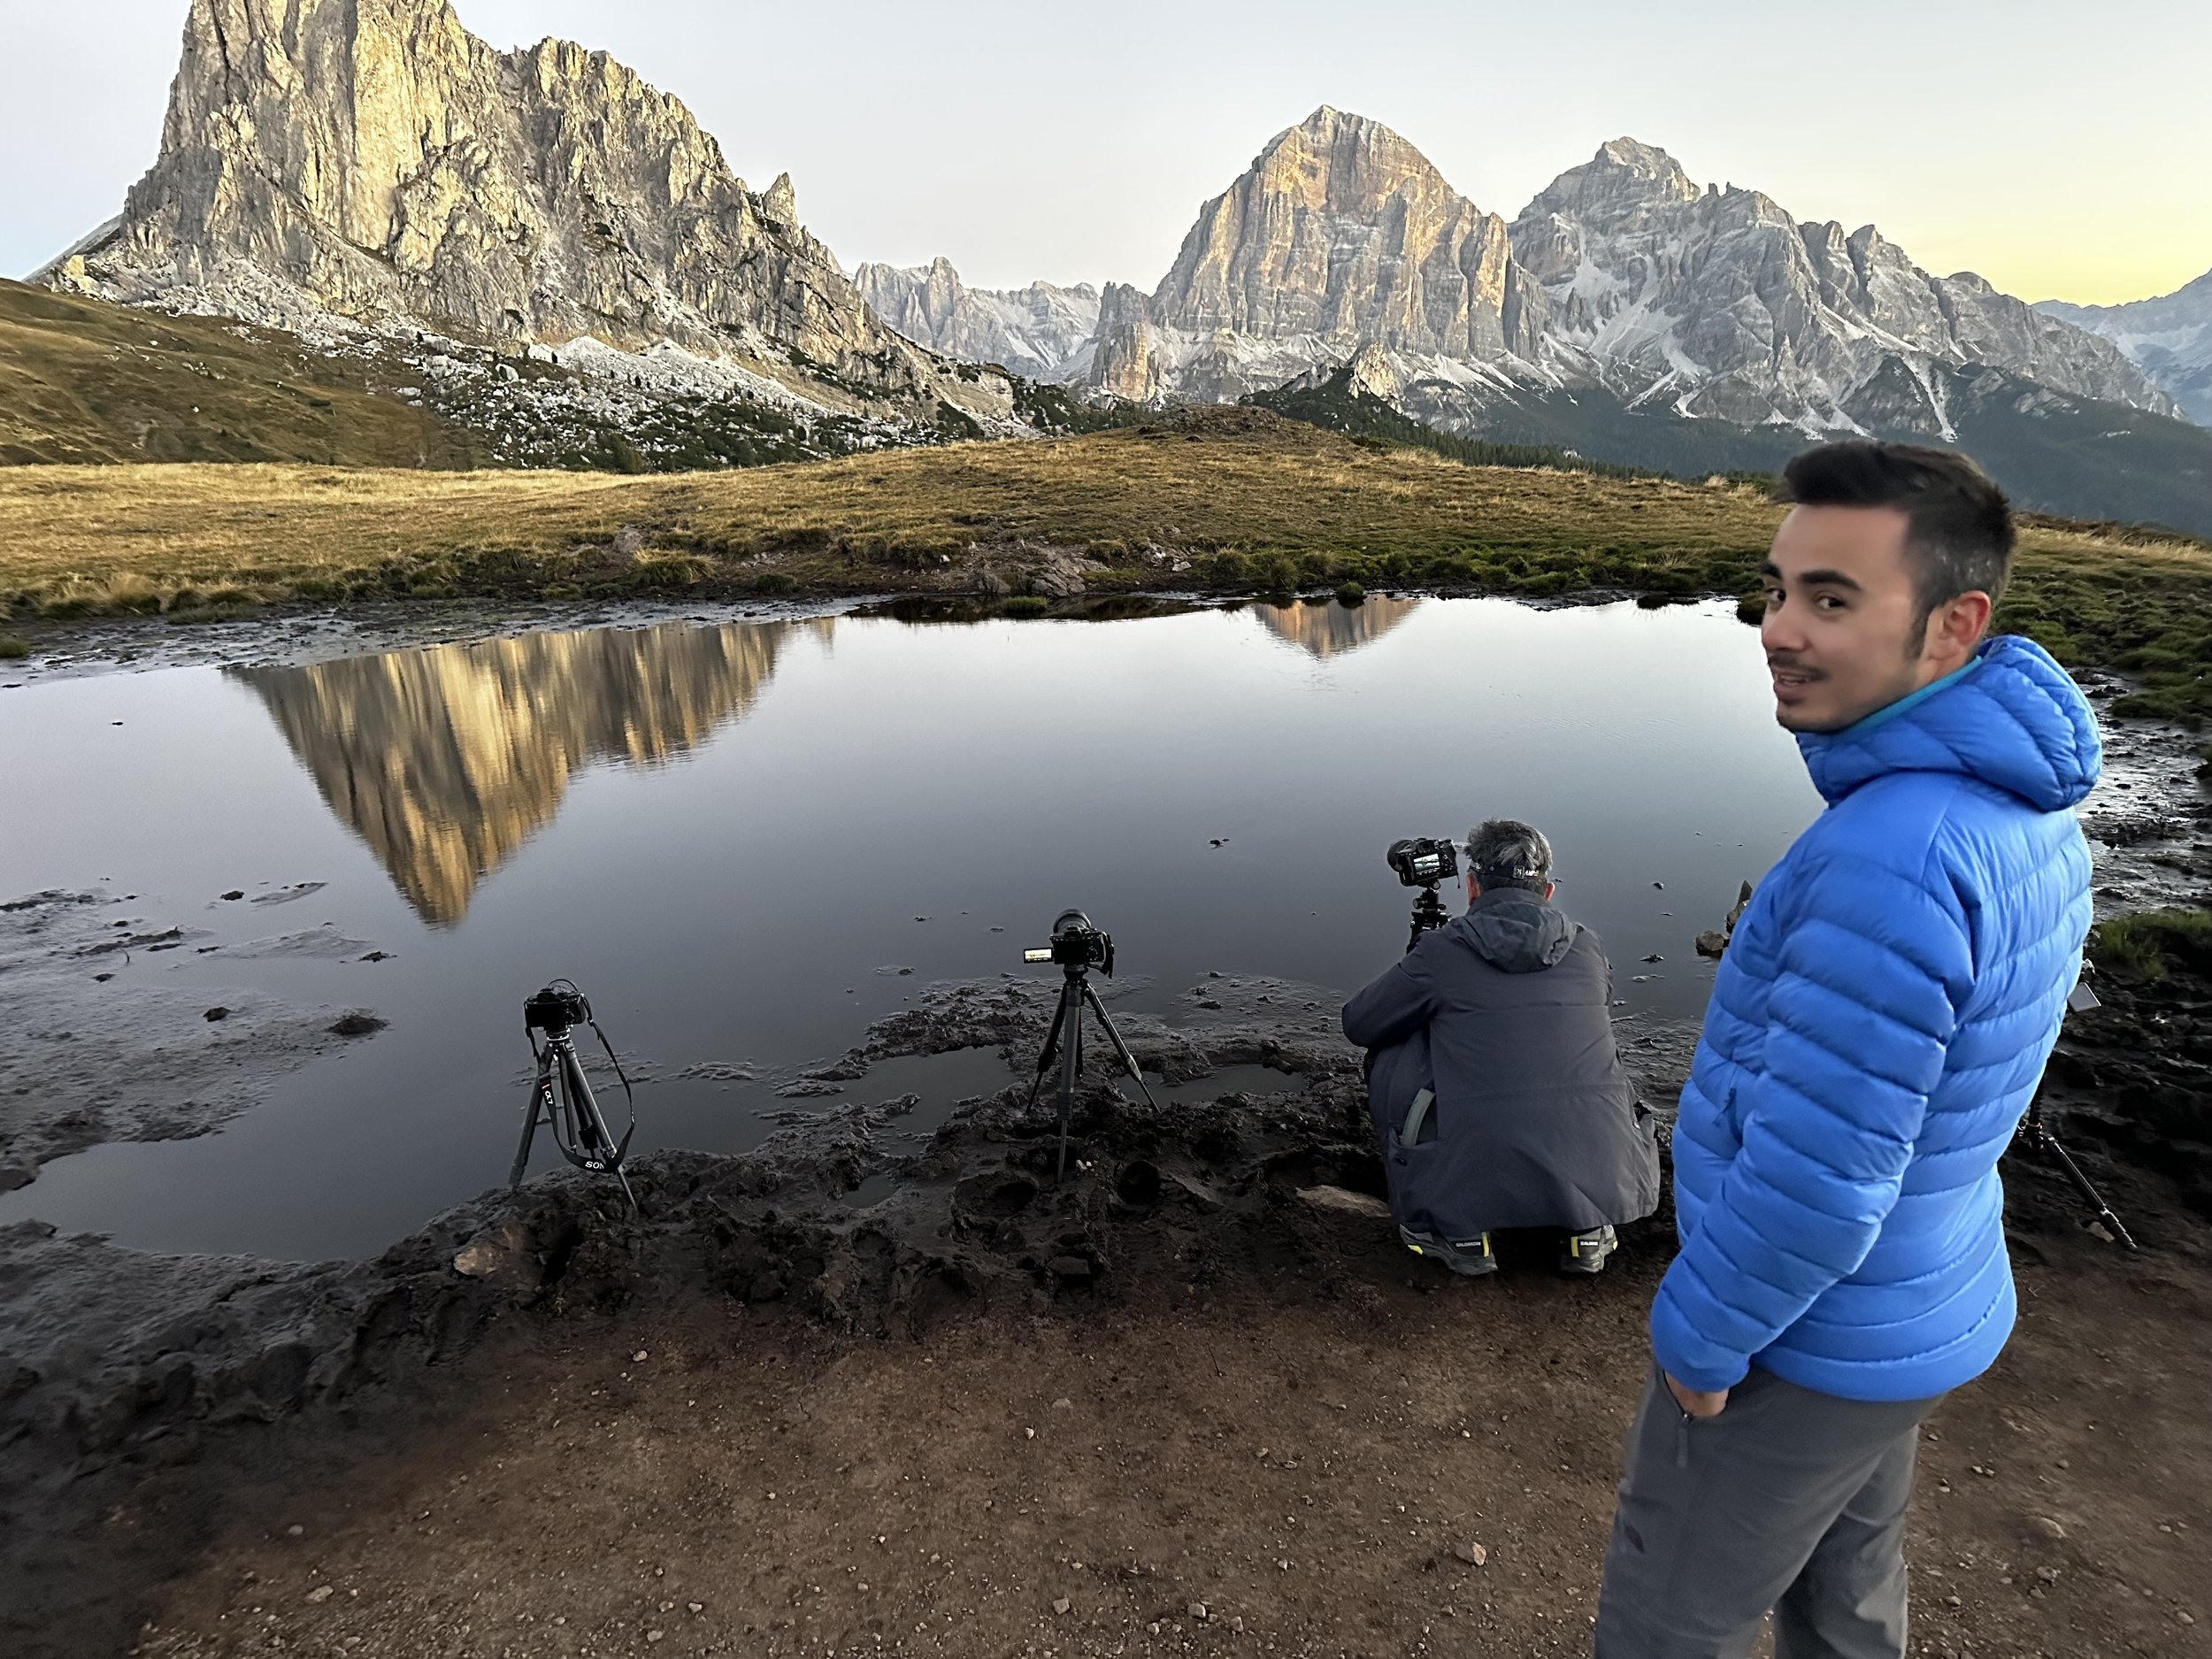
We were up well before sun rise headed for our outing at Passo Giau. This is a high mountain pass that is very drivable on the Cortina side. We got up early again, in the dark and well before dawn, and psyched, about taking fantastic pictures, especially after our experience at Tre Cime Alvarado the previous evening.
I know! The wide angle lens makes the water seem enormous, when in actuality it is just a shallow, muddy, puddle!
This was also one of my favorite shots from the workshop. I have this one, which was taken later in the morning, when the sun was providing color on the peaks. I also have a shot before the sun had risen, which to me, is also equally amazing in the Dolomite Gallery.
I used my Sony camera (instead of my GFX FujiFilm, more on this on the Venice blog) using my 16-35 f/2.8 G-Master. I shot this at ISO 100, 19 mm focal length, f/11. and 1/8 sec. Parameters were checked with Leo. If I had time I might have experimented with taking shots as wide open as f/4.0. I must say, Leo’s camera recommendations always led to pin sharp focus and fantastic exposures.
Day 2: Lago di Dobbiaco
After returning to our hotel in Corina, where we enjoyed a wonderful western style breakfast (scrambled eggs and bacon et. al.) I took a short nap, and then we headed to our next destination: Lago di Dobbiaco. This is a wonderful place to relax and enjoy a nature walk.
So let’s talk Neutral Density Filters! I bought variable neutral density filters before the trip and they were a disaster. In bright light and a high stop, it is just magically BAD! I took the three photos from my exposure bracketing (no filters on the lens) and stacked them in photoshop. Then I used layer masks from within Photoshop. I put the over exposed image at the top of the stack, since this had the smoothest waterfall. Then I used a paint brush to paint in different exposures. I also used the Camera Raw filter on individual layers and on the flattened image. I think it turned out OK considering…I shot without a good dark neutral density filter.
As a fine point, sometimes with water, in dark areas, you can get very blue saturations in the shadowy parts and these can be distracting. I painted in a layer bask at the base of the water fall in the dark areas and then desaturated until the blue was removed or minimized.
Also, what I learned at this location, is where you need to be to take the shop can sometimes be uncomfortable! In this particular case we were on a narrow road bridge, with other tourists and photographers, with cars crossing, which caused the bridge to vibrate and move. And, in order to get the shot entailed kneeling down on the wood slats, and push the camera lens through the wood timbers of the railing as I had to contort my tripod to make this all work. I hoped I wouldn’t get my foot run over by a car!
Day 2: Lago Limides
After lunch and a short nap, we headed out in the late afternoon, to take a drive and then a beautiful hike to Lago Limides where we had a wonderful view of the mountain Lagozuoi.
Unfortunately the small lake was a bit dry, but the scene was still breathtaking. It was this night, that Leo trained us on his technique of Focus Stacking. Something, prior to this workshop, I was scared to do, because I thought it was well beyond my capabilities. The shot below was created using focus stacking and I am just blown away at the result! The method Leo trained us on was using manual focus. Only once before had I ever used manual focus and the focus ring! I was feeling a little bit uncomfortable at first. But, then I got use to it. Today, I have no problem using manual focus and using focus stacking.
The camera settings for generating the focus stacked images using my 15-35mm f/2.8 G-Master lens were ISO 100, 16mm focal length, f/11, and 1 sec exposure. I shot 10 images using manual focus. The first image was taken at infinity, then I moved the focus ring closer and took a shot. I repeated this process until I achieved the minimum focus.
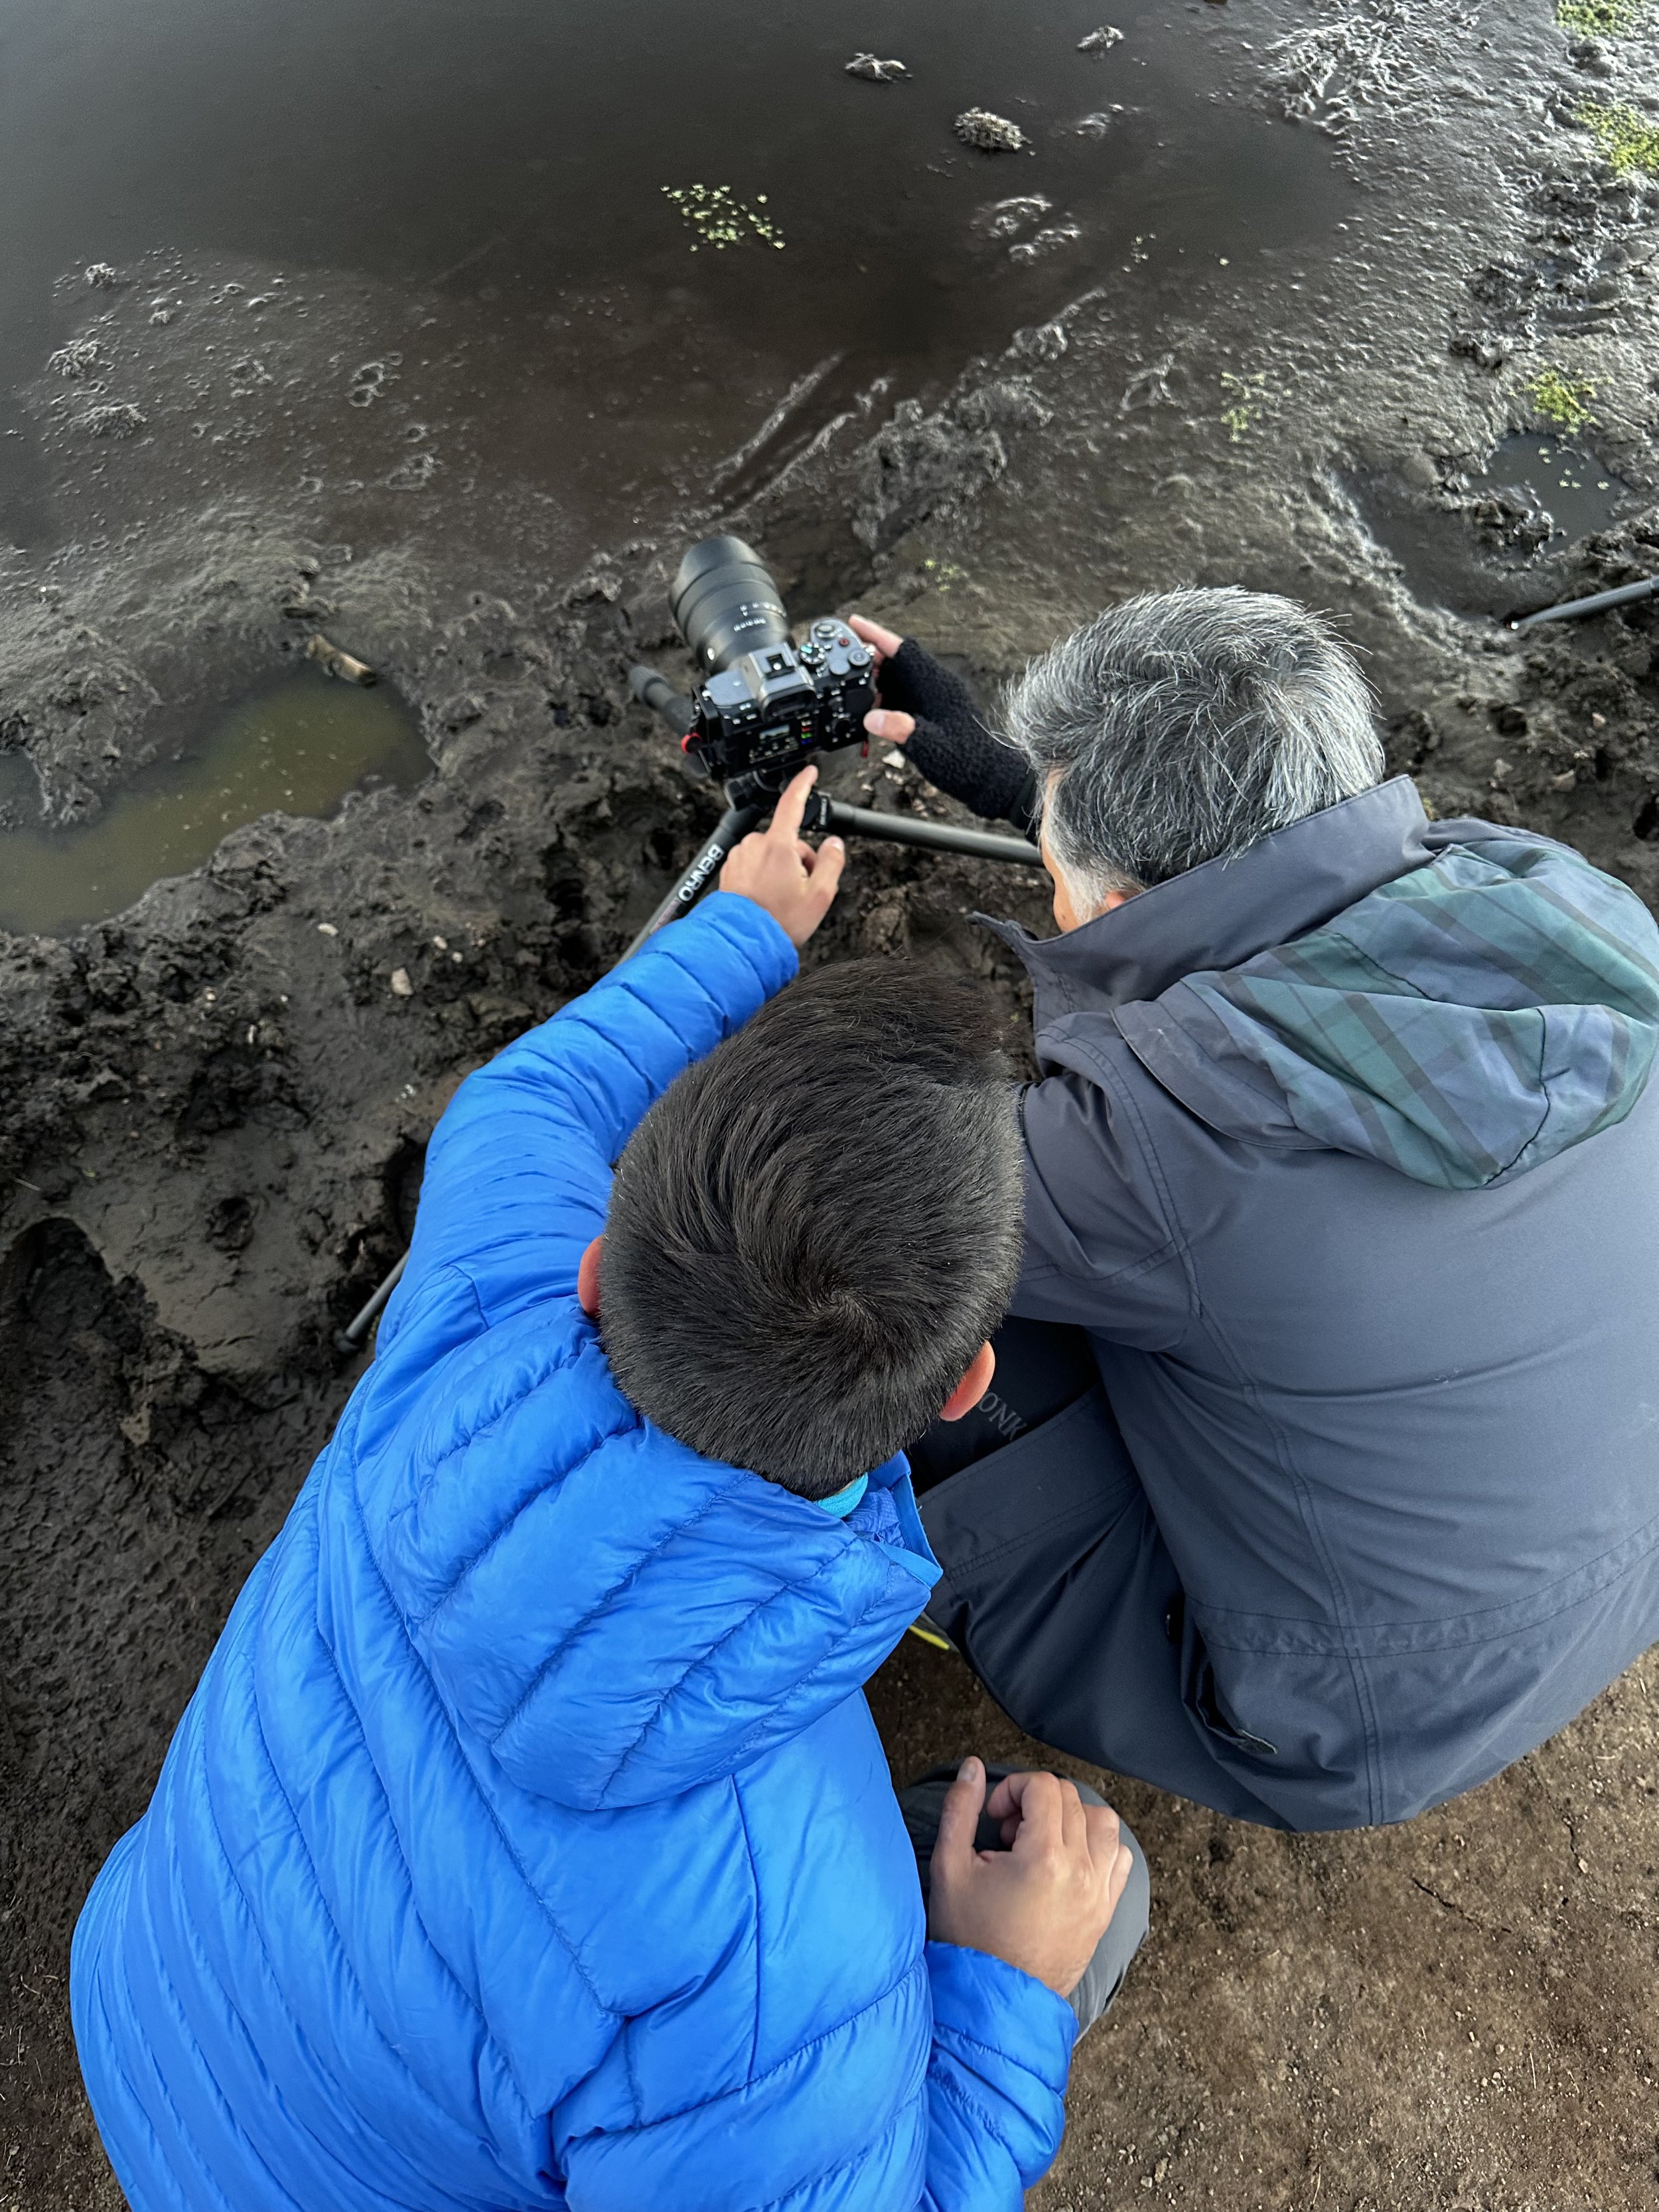
Leo spent individual time with each of us on editing. And he walked through at least one focused stacked image. Instead of combining the images within photoshop, we used a software package called HeliconFocus. It was just a matter of dragging and dropping the raw images into the software and click “render”. Within seconds a rendered image is created.
This brings up an important observation about professional landscape photographers, which I was beginning to realize about now into the trip. They are extremely comfortable using manual focus. In fact, I have come across some that use manual focus almost exclusively. For doing specific things, like creating a focus stack or rendering a focus stack, they typically don’t trust in camera solutions and they do not trust Adobe’s software in some very specific technical applications. Professional landscape photographers are very demanding and trust themselves first and foremost, which I think speaks to their art.
As for me, one of the obvious take aways at this point was you are not a good landscape photographer if you aren’t shooting almost exclusively with your tripod. For example, if you aren’t using at least exposure bracketing, you should ask the question, “why are you taking the picture if it has such a flat dynamic range?” And exposure bracketing, if your are going to merge the images, needs to be done with a tripod. So, unless a flat dynamic range is what you are going for in your composition, then this is a rare time you can go without the tripod.
After the experience on the bridge at Lago Di Dobbiaco, nobody was up there. It was just us, our small group with Leo. We were in nature, enjoying the evening. Very calming and very inspiring. For me, a little bit of hope mixed in. Was I doing things technically correct? Was my result going to be any good? And, being home now, the result was very good. And so was the group dinner after this fantastic day!!
Day 3: Lago di Braies
Up early again well before sunrise to take the drive to Lago di Braies. This incredible location is a very popular spot. Even so, we were almost the first to arrive at this lake. There were two others that were just setting up and getting their cameras situated in the dark. Leo knew exactly where we needed to be and once again, the actual place were we were shooting was physically uncomfortable, but I didn’t care, because I knew there were going to be some great picture taking! And there was!!
After a while, more and more photographers showed up and situated themselves. When shooting started during first light, tourists started to show up, walking along the shore, and somewhat oblivious of the photographers cramped up against the steep hill and in the trees. So, we had to wait for shots without people. When there was more light, a couple was getting their wedding pictures taken on the dock and around the hut. They looked like models to me, so I didn’t mind them being in the picture I took below.
Despite all of the people around and the distractions that sometimes come with other photographers competing for compositions, I was very happy about all of the different of compositions and images I was able to capture with my camera at this site.
As for editing workflow, it has changed dramatically since this workshop. I have followed many of the methods Leo taught us, but I have also developed other techniques, which isn’t unusual since Leo couldn’t possibly cover every scenario. For these images I imported into Lightroom and made some changes there, like I would if I were importing the images directly into photoshop and using camera raw. I then imported into photoshop. With photoshop and the use of layer masks you can make more complicated and more subtle adjustments, which I did for the shore (darkened some) and the reflections (raised the shadows) using masks I created with the brush tool (setting the brush up to be very soft and adding subtle changes).
One of the things I caught myself doing initially with my images, was over sharpening and pushing the detail to far, as well as sometimes blowing out the highlights. I felt the images done this way were too hard and unpleasant. After some mile sharpening adjustments using the effects slider of texture and clarity (minimal) and sharpening (minimal), I started using a softening effect Leo taught us. That is adding another layer above the flattened adjusted image, using a Gaussian blur of let’s say a setting of 70, and then setting the opacity to about 10%. I then saved the images as high resolution TIFF uncompressed files. Then I would reduce the image size, apply the Smart Sharpen at the settings Leo recommended, then reduce the image size again so you achieve a 3:2 ratio. Doing this produced the maximum image quality for the web (as you can see in this blog and gallery for the Dolomites) with a minimum of file size.
Day 3: Tofana di Rozes
After leaving Lago Di Braies, having a nice lunch, and then a nice nap, we departed on our mission to photograph Tofana di Rozes from a high mountain pass. By using our skills of exposure bracketing and focus stacking, we were going where pros go to take pictures and sell their prints! Here is an example, of a print available for sale, where I was going to be in an identical position to take the same picture. Here it is below for reference! The website I took the image click here. You can compare this to what I took later on in this blog.
On are way to the site where we would take pictures of Togana di Rozes, we stopped to take wonderful pictures of a creek with the mountains and pine trees in the background.
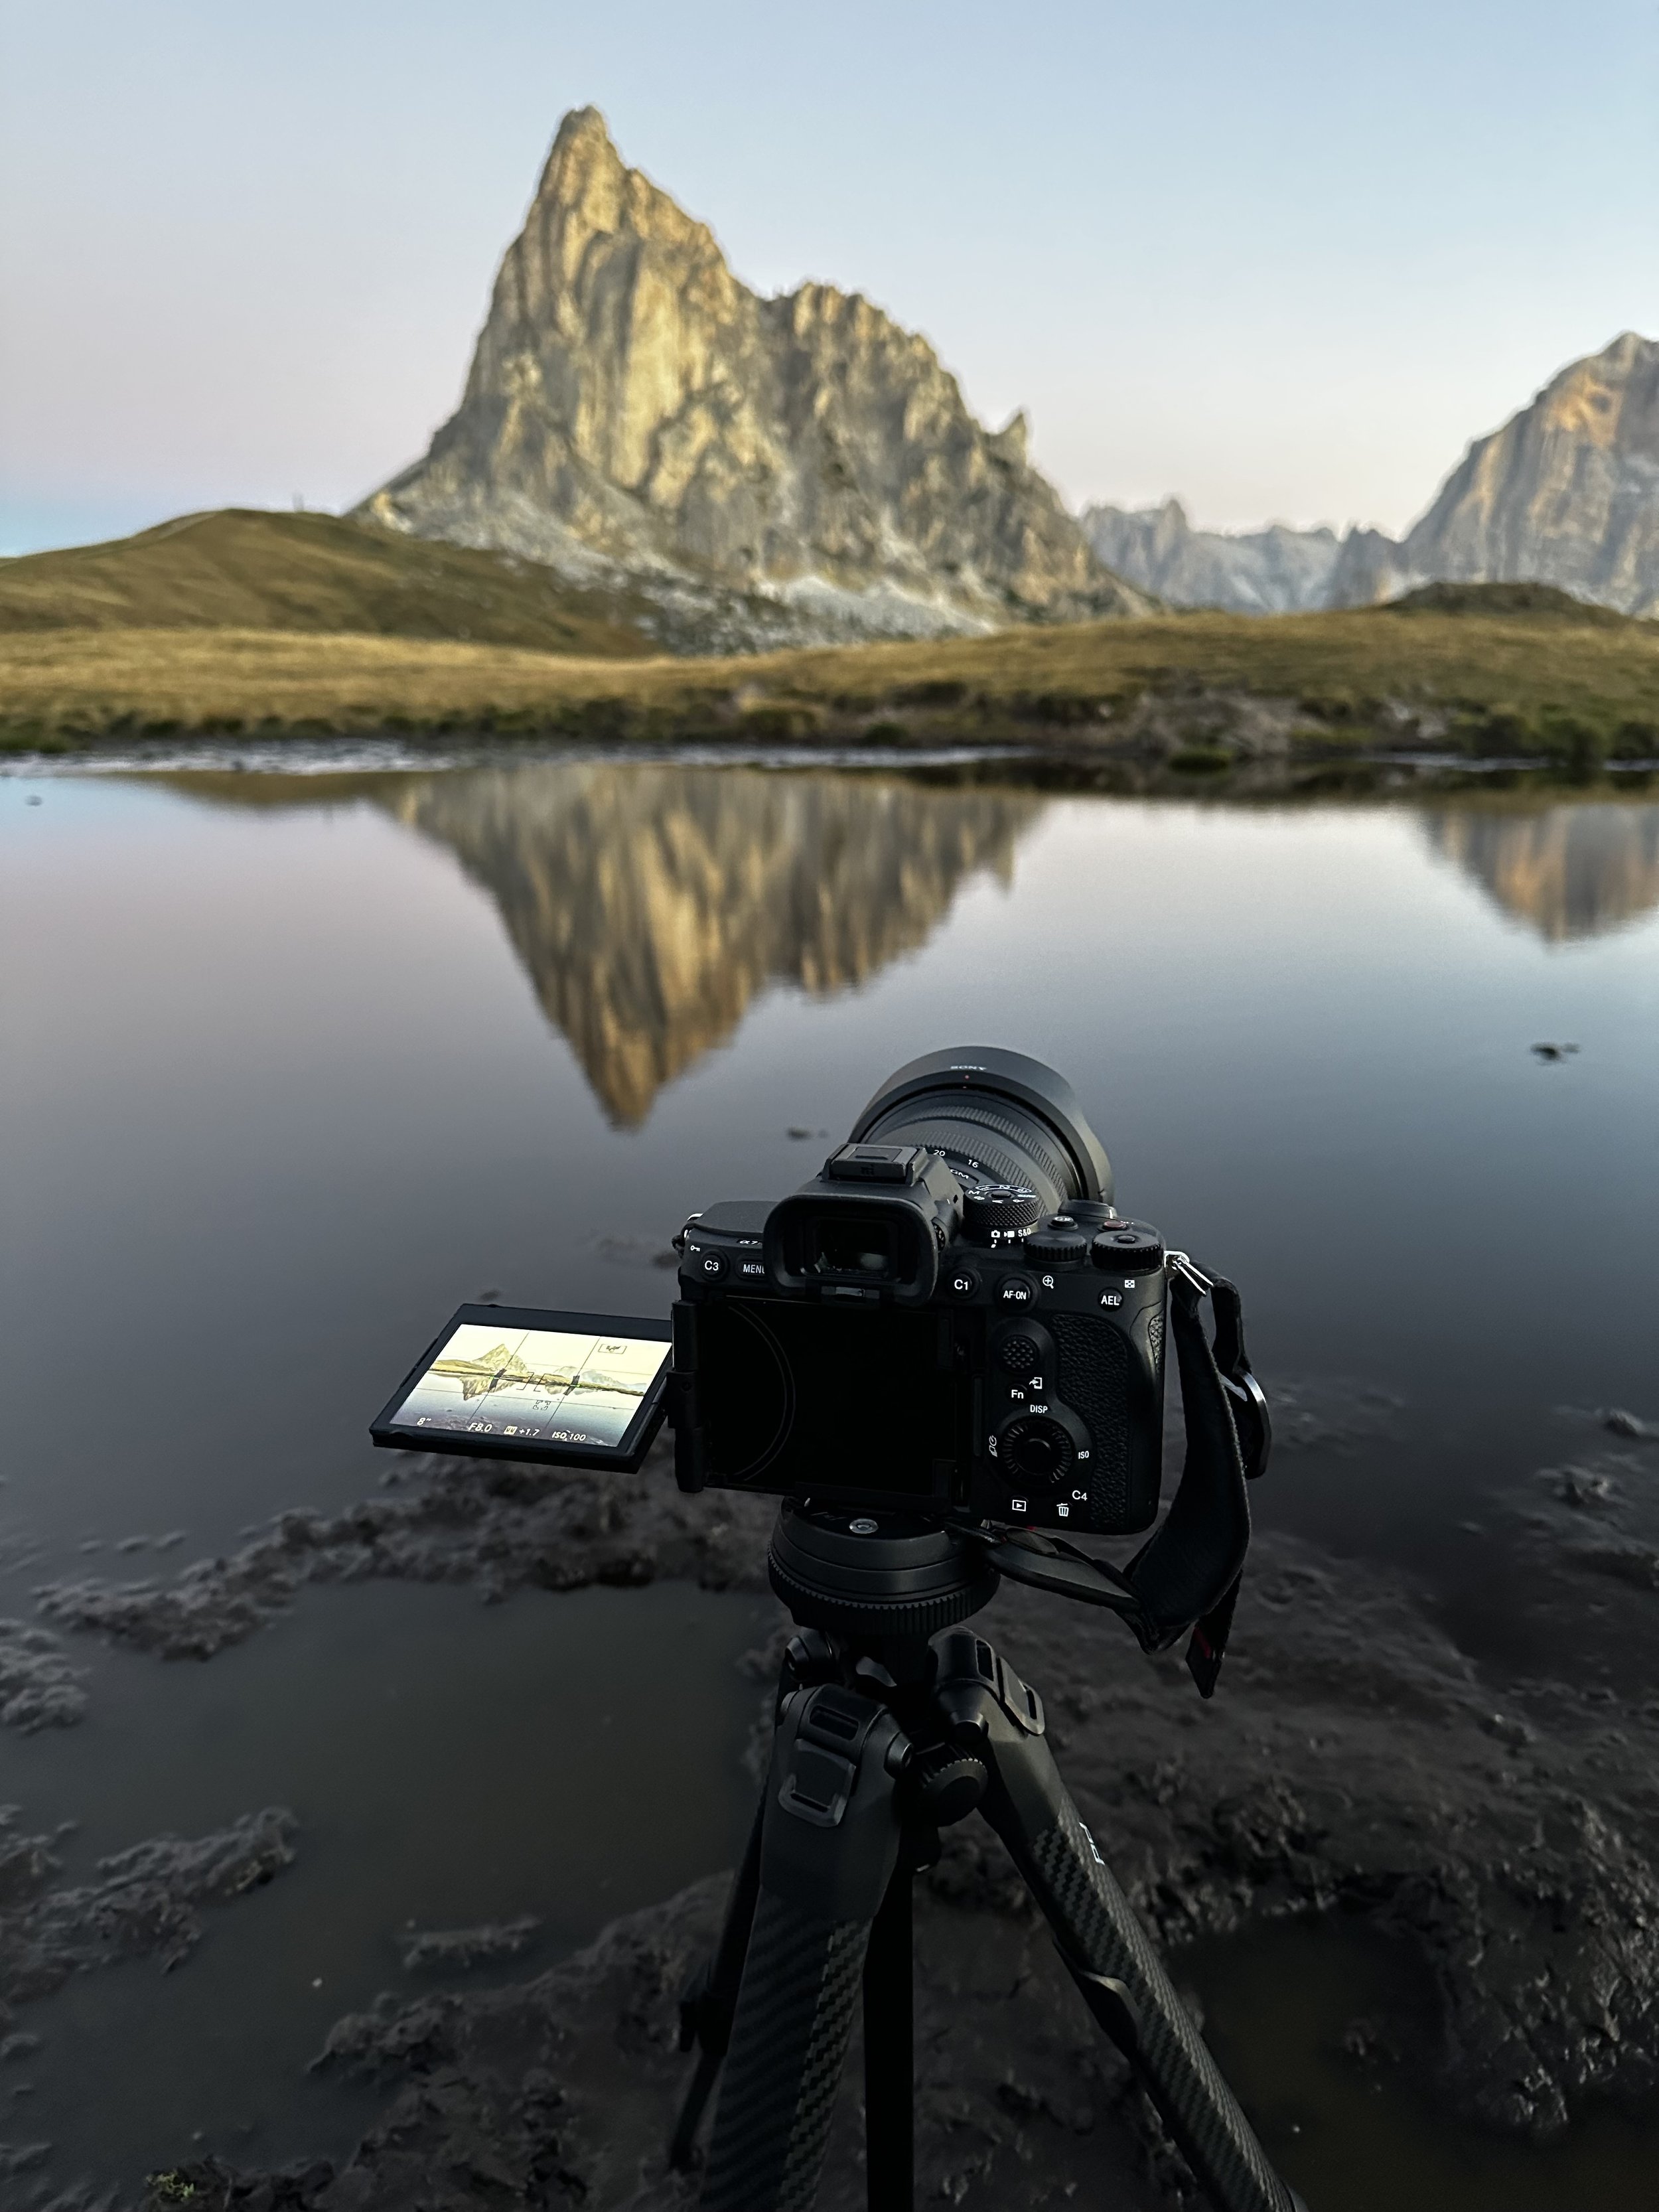
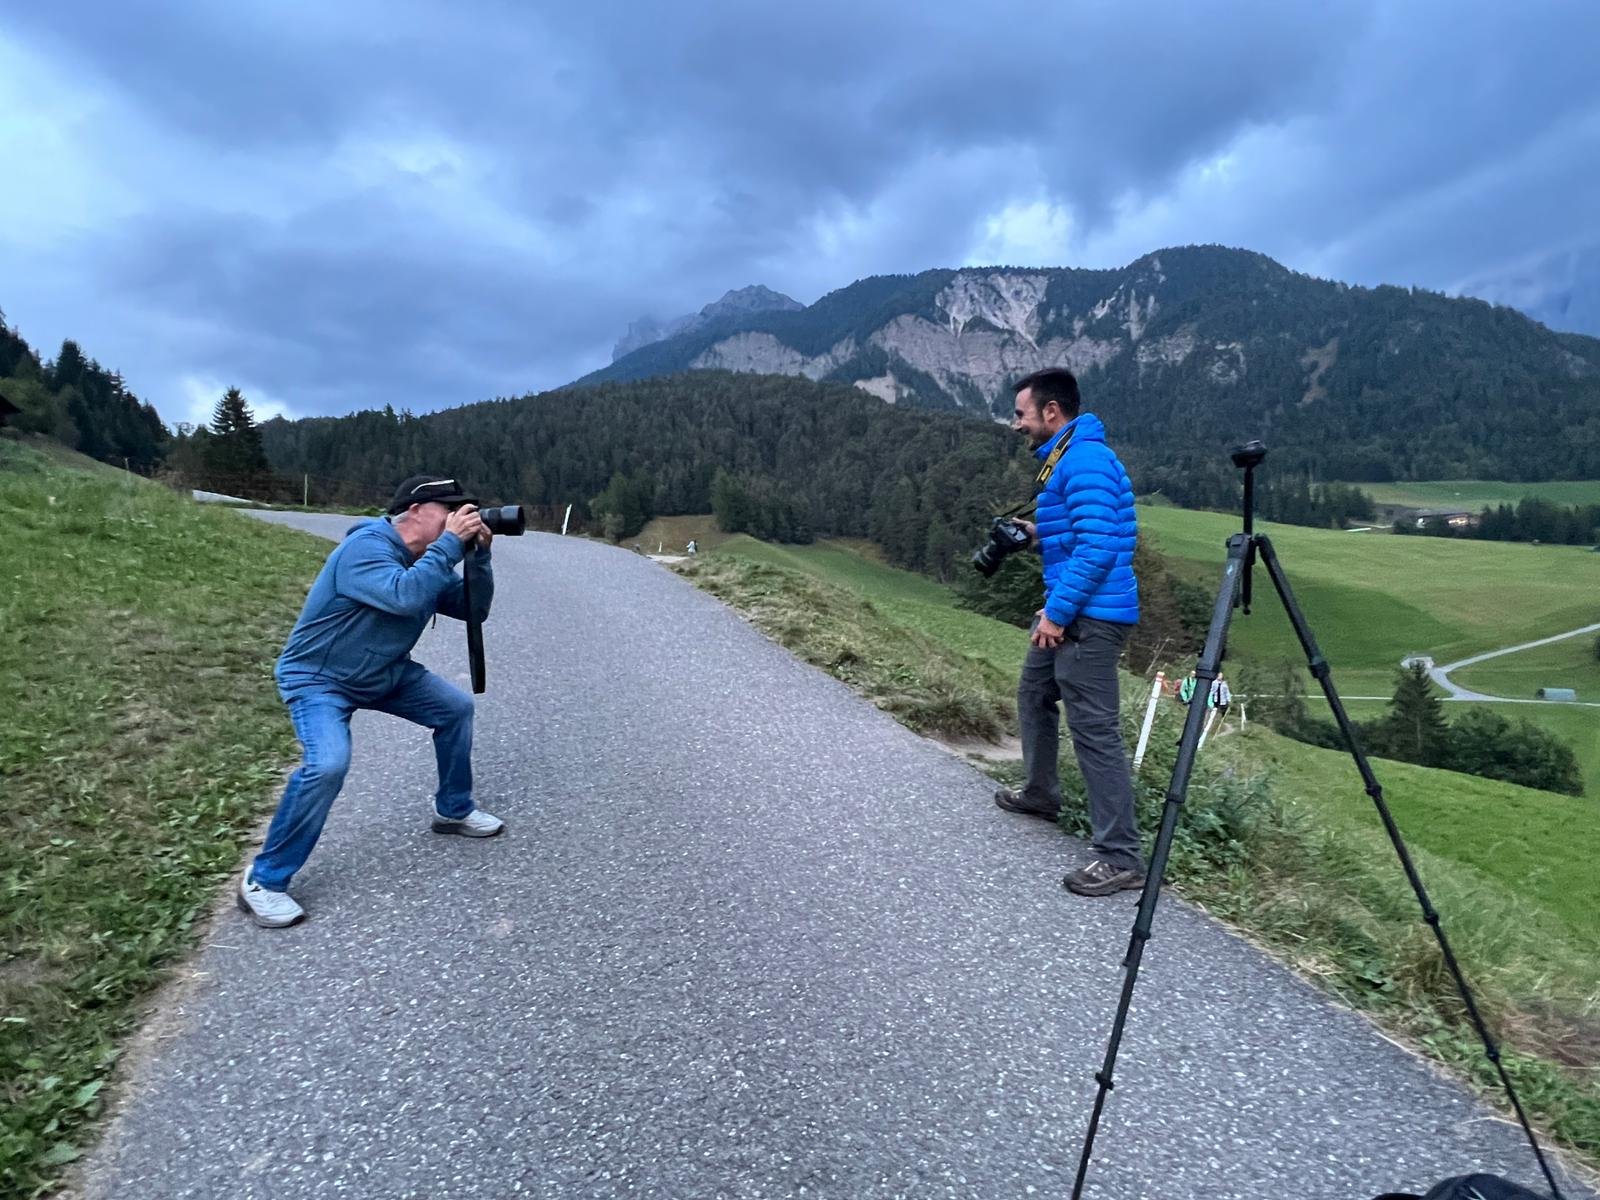
After we arrived by car to the trail head that would take us to our location. Below is an image of my camera setup for the landscape shot of the Tofana di Roses below that image.

The result below, was focus stacked. This was using (once again and it should become apparent at this point how important the 16-35mm wide angle zoom was in this workshop) 16mm focal length, ISO 100, f/11 aperture, and the focus stacked images were shot at 1/25th of a second. To get the sky and other highlights one shot was made by auto focusing on the background (essentially infinity) at 1/80th of a second.
This image was imported into Lightroom, but was then edited within photoshop. Several layer masks were used to burn and dodge so that highlights and details would pop. The tree root case in point where there was work using the brush tool with a mask. The camera raw filter within photoshop was also used especially when using dehaze and other sliders in the effects panel such as texture and clarity.
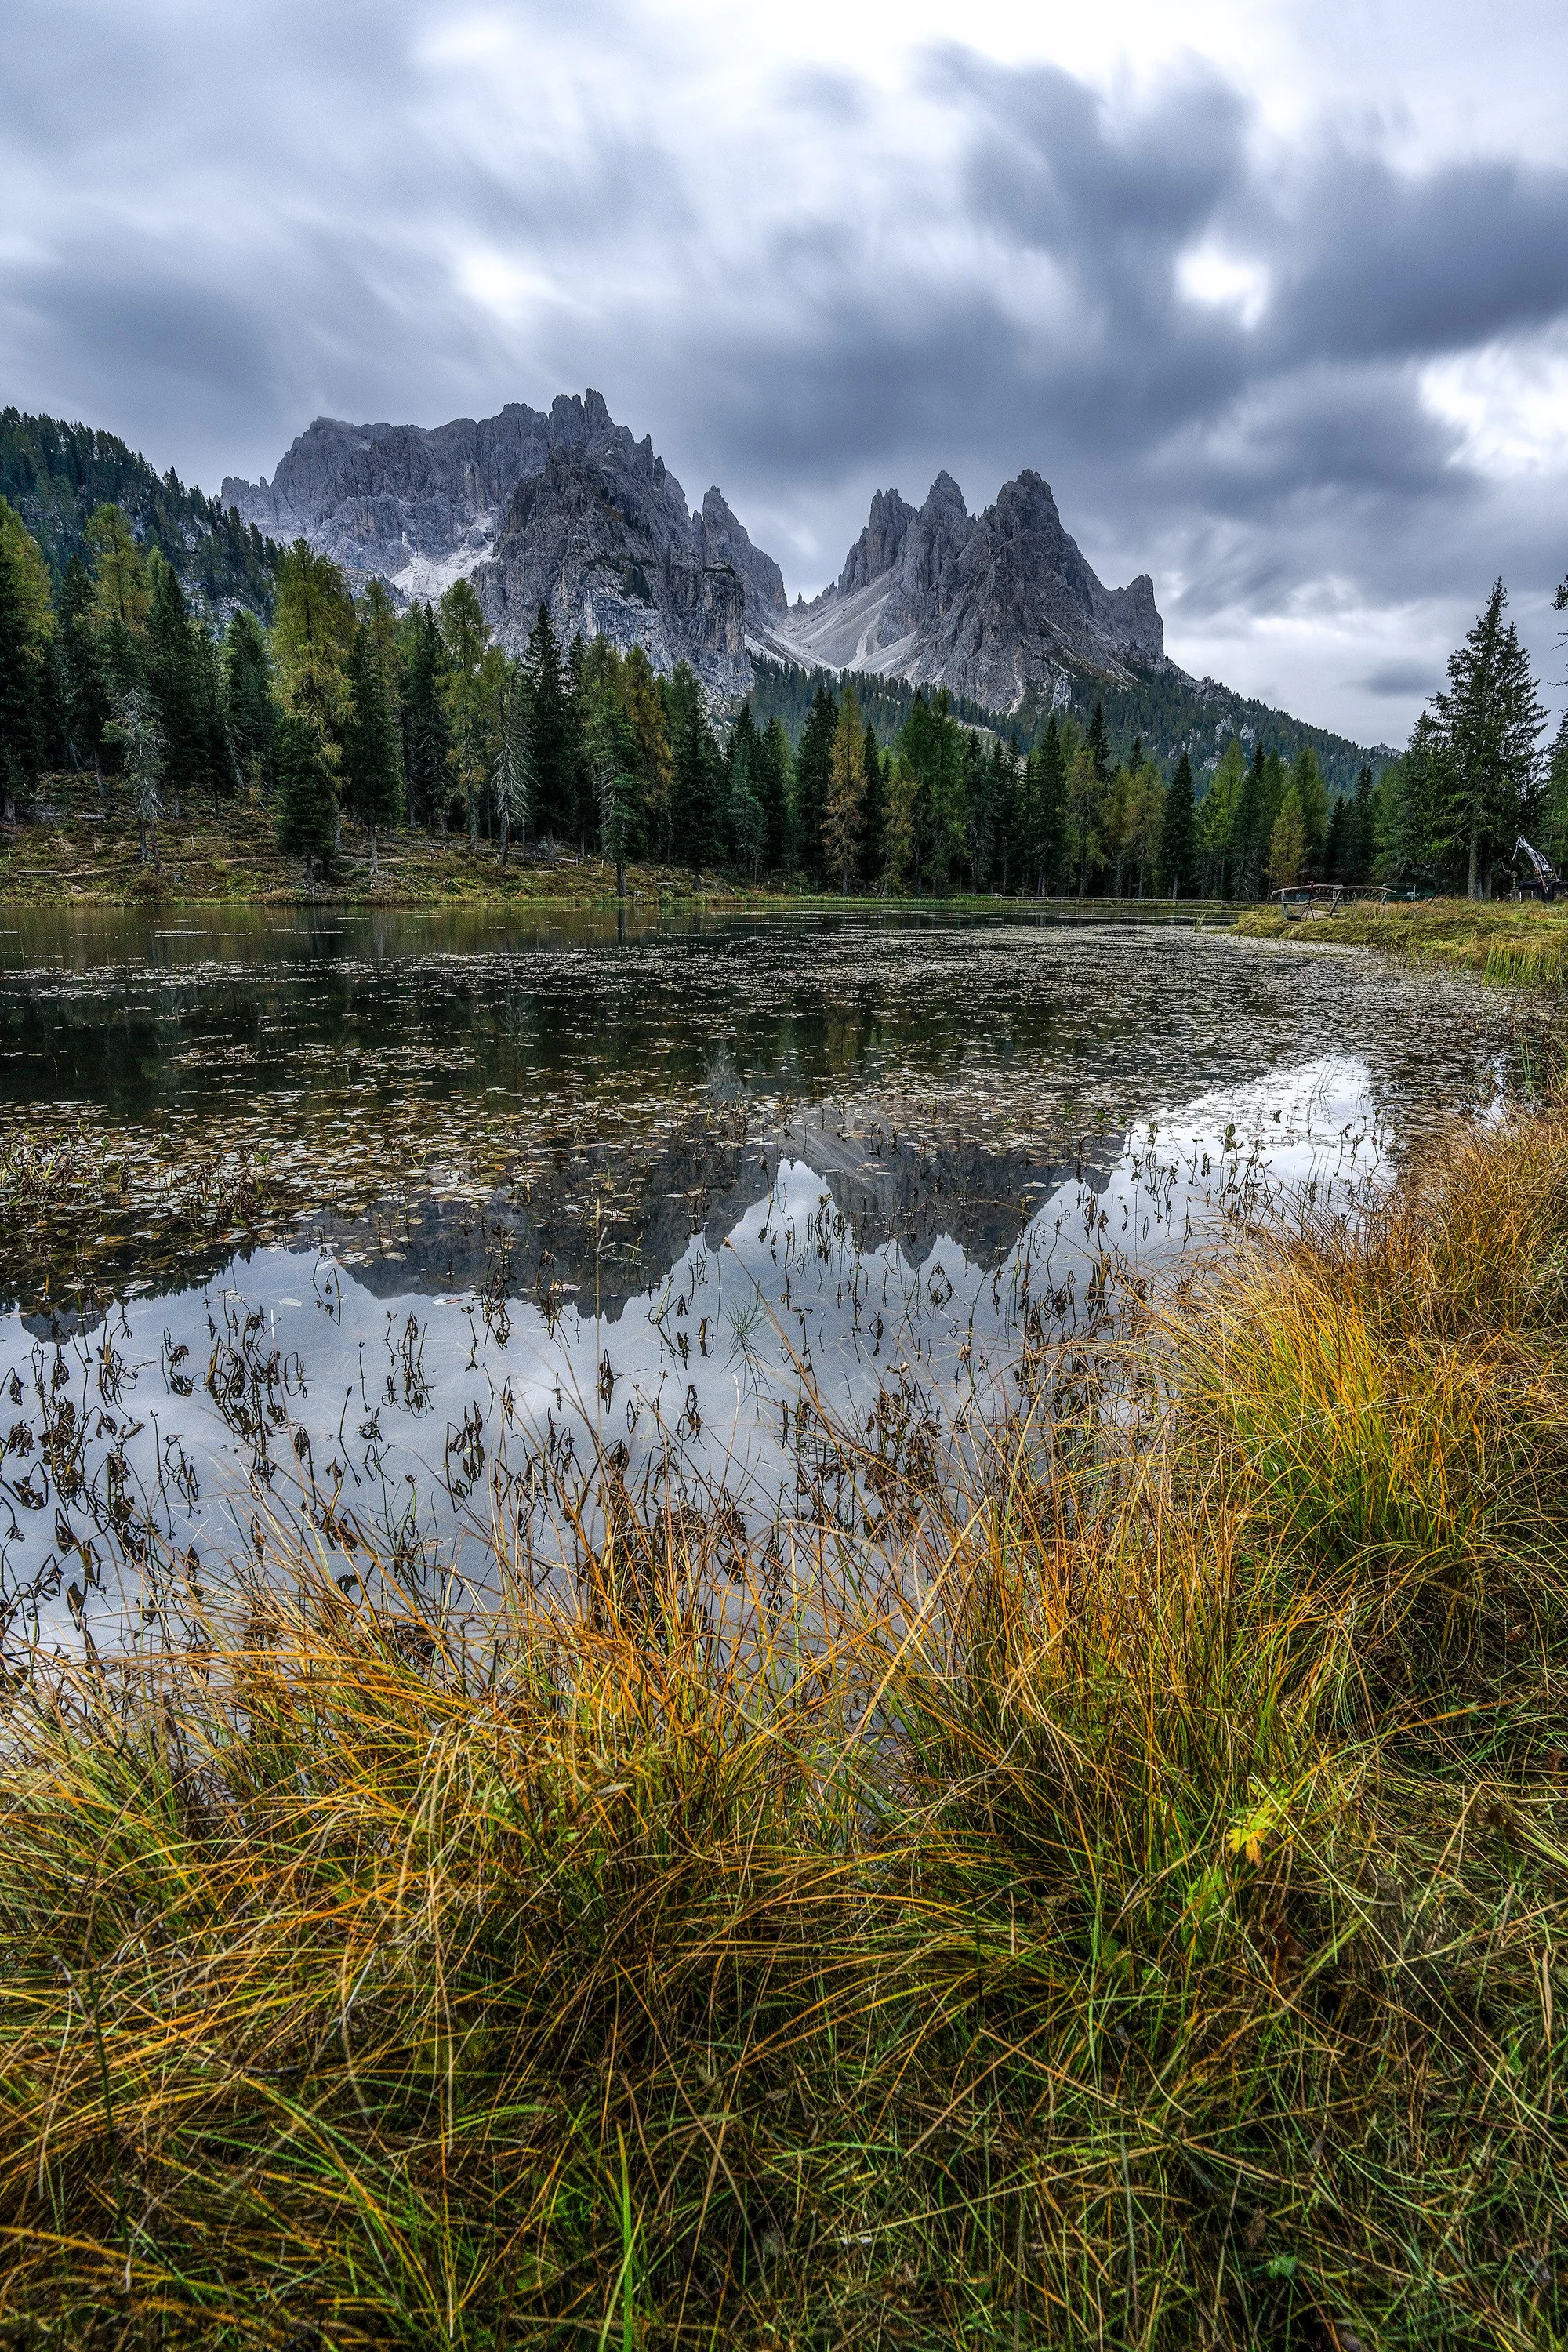
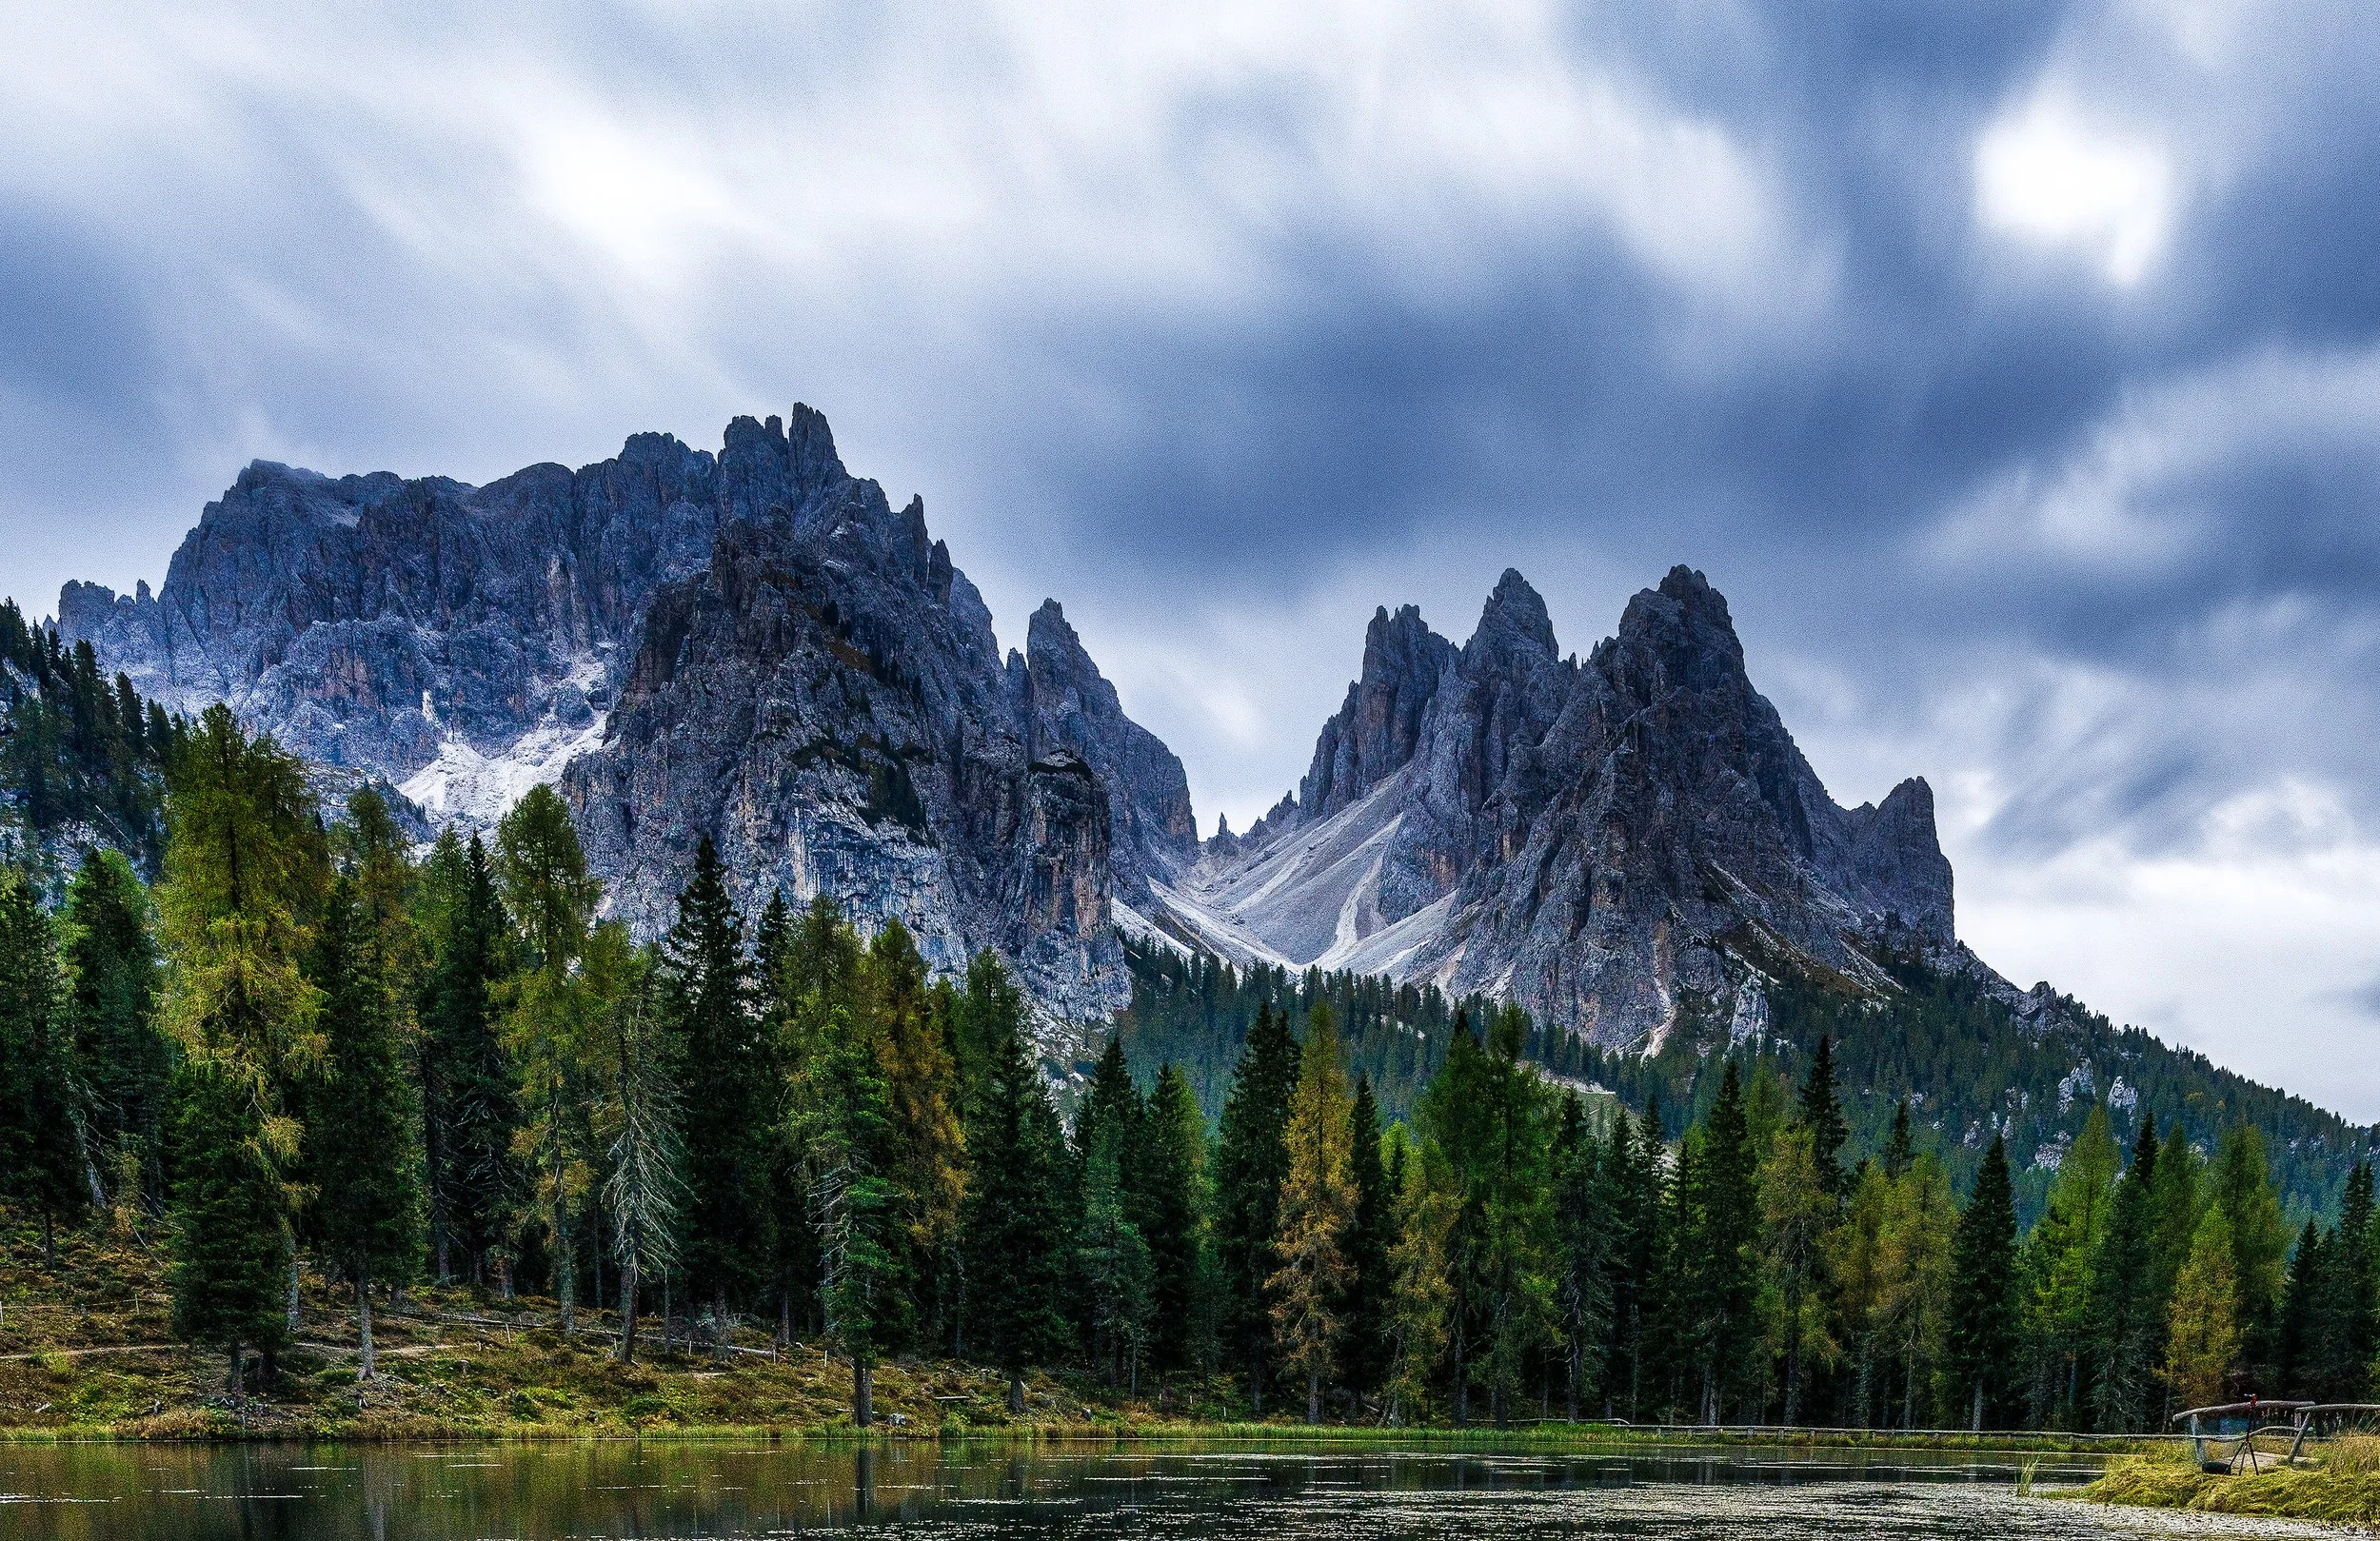
Day 4: Lago d’Antorno
Again we got up well before sunrise, in order to take pictures at Lago d’Antorn. Unfortunately it was a bit cloudy this particular morning, and dredging machines were fired up early in the morning and started criss crossing the lake. Not everyday has perfect conditions, though that is what we had experienced up to this point.
There were a few photographic compositions to be had here.
Day 4: Lago di Misurina
After checking out of the hotel, we headed to Lago di Misurina on our way to Siusi. On our way to Siusi we had a lovely lunch in Ortisei.
This link really describes well this location and why it is so popular. In the next couple of days we got many great churches of valleys, mountains, and scenic churches, all of which were unusual and breathtaking! It was hard to comprehend so much variety in such a small geographic area!
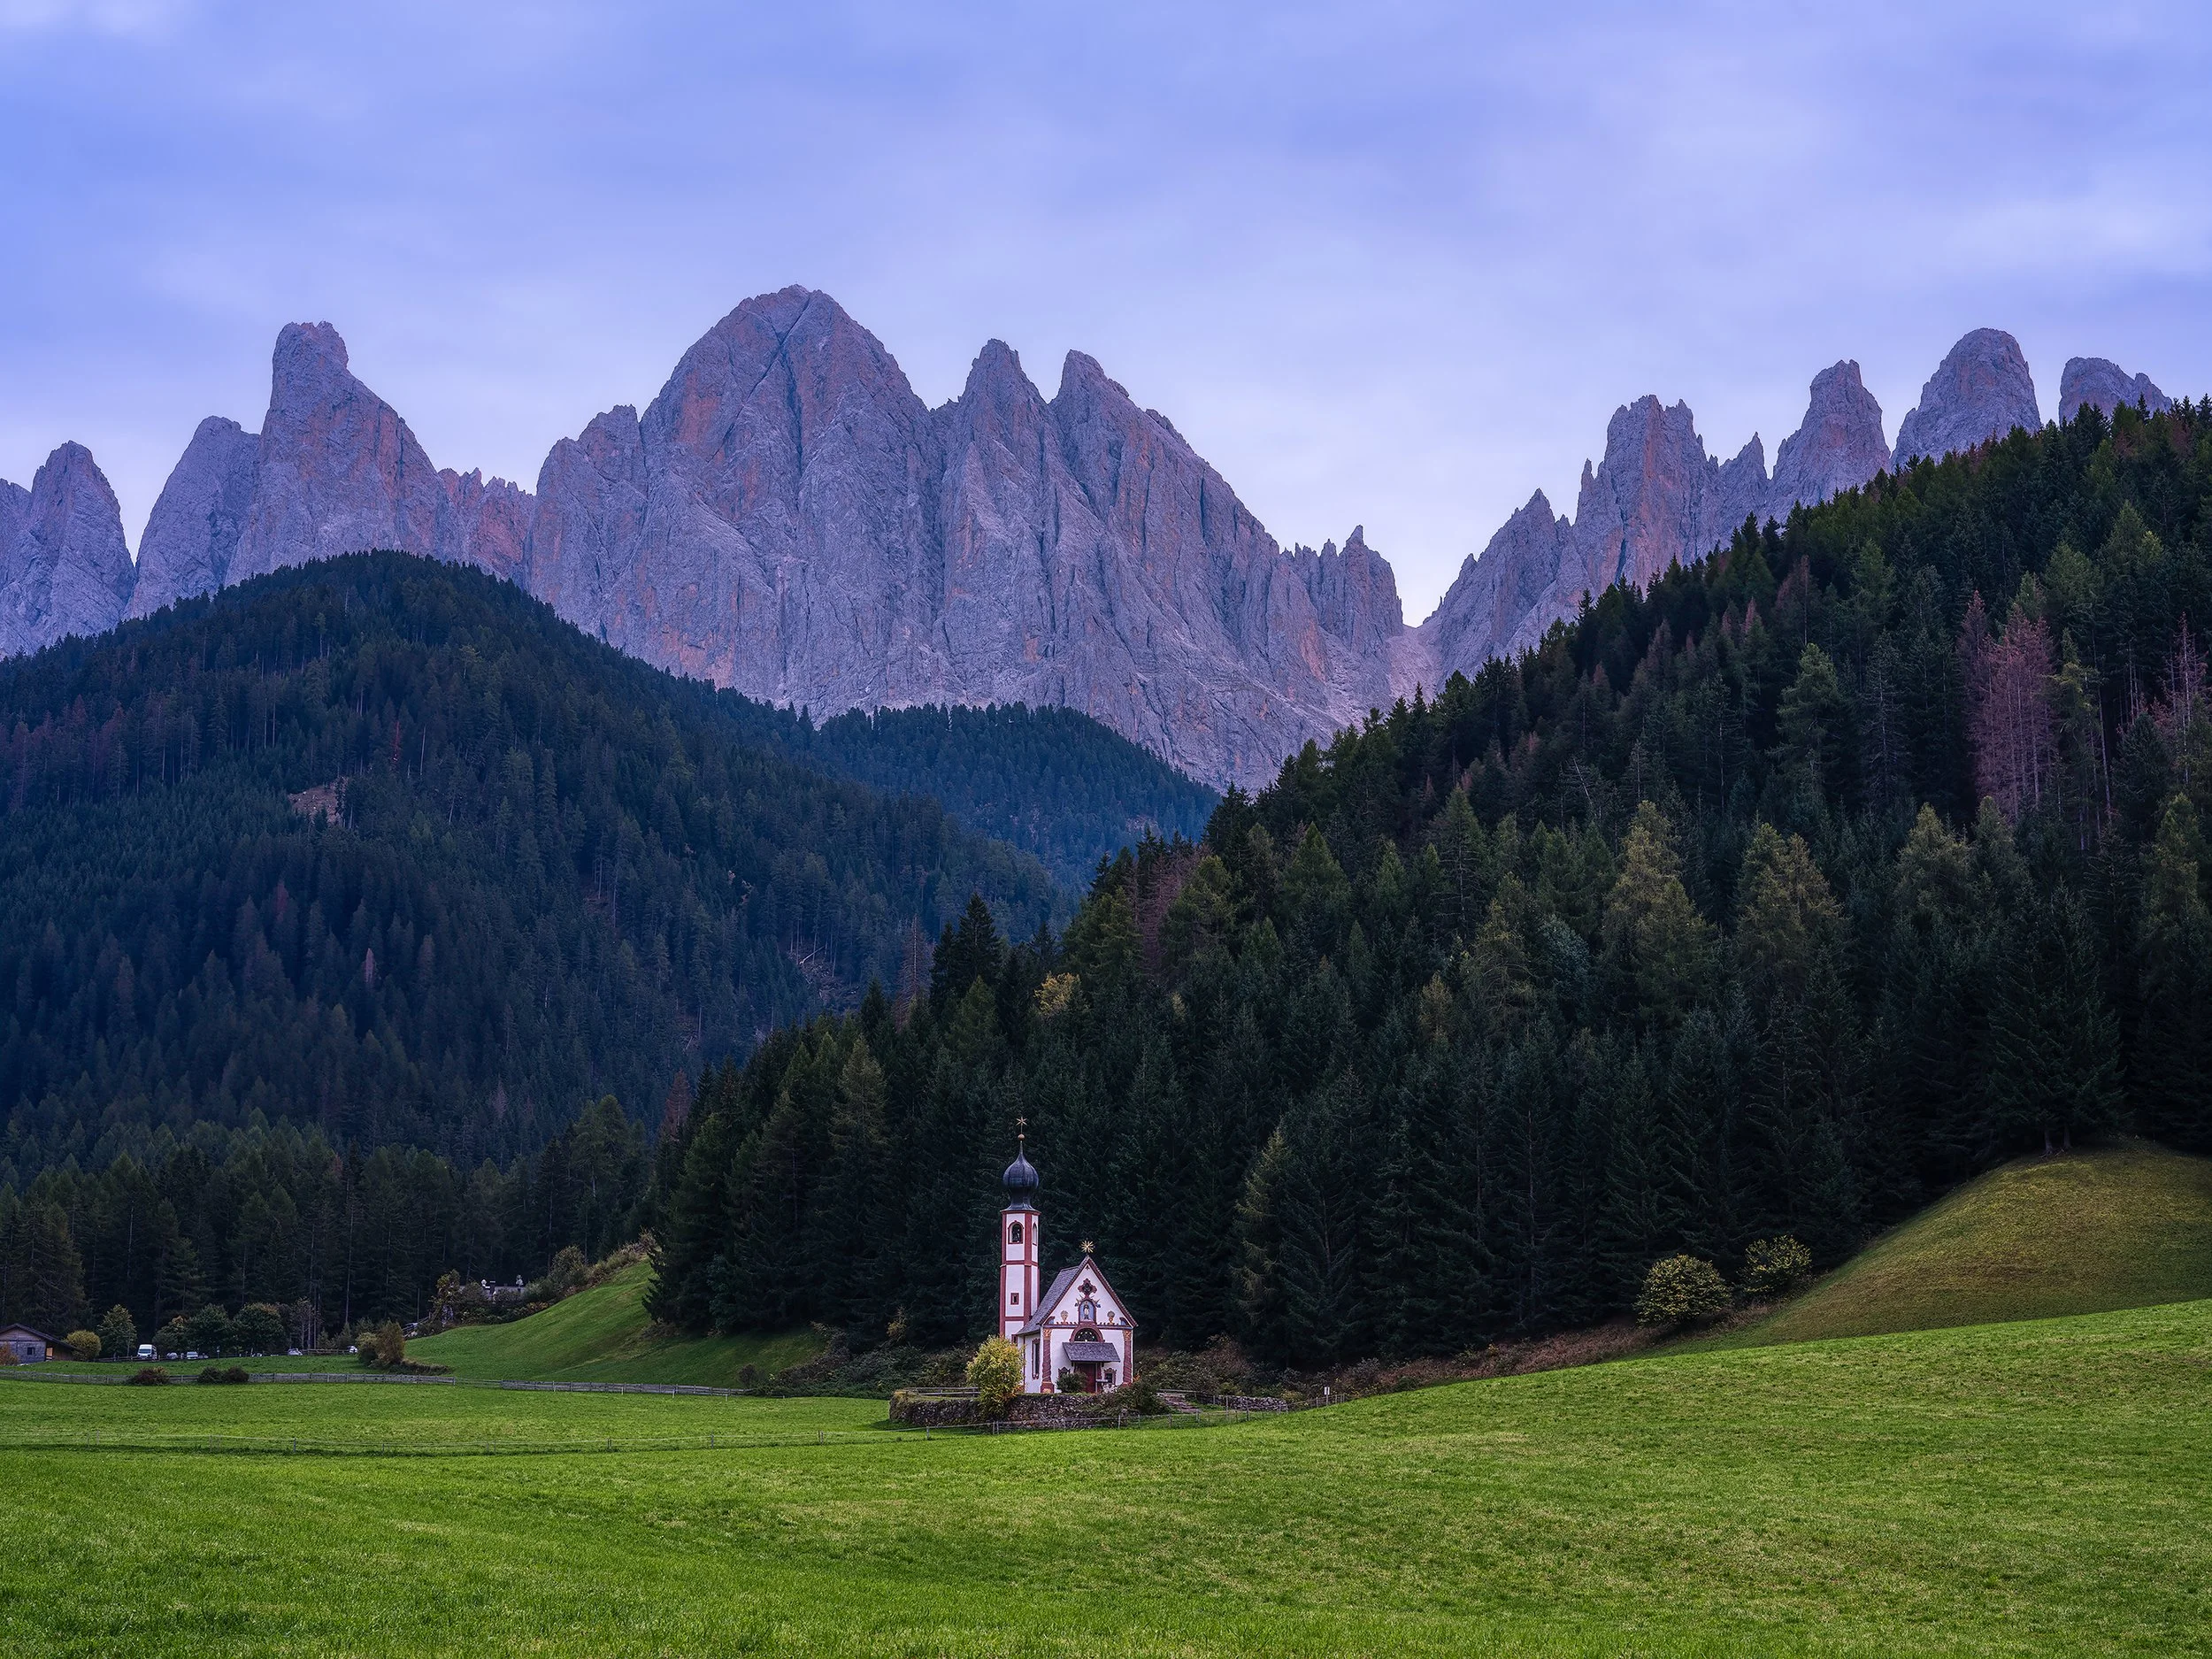
Day 4: Church of St. Magdalena
After checking in we had our first photo editing session with Leo. Leo like many landscape photographers work by organizing their photos in Adobe Bridge and for editing use Adobe Photoshop.
After a short break, we loaded up the van and headed to Val di Funes to take pictures of the Church of St. Madalena at sunset.
We had a lot of fun on this shoot. As the days went on we got more and more comfortable with each other and started playing. Being in the mountains was extremely relaxing. All of the cares of the world were left behind, as my entire focus was on these beautiful landscapes.


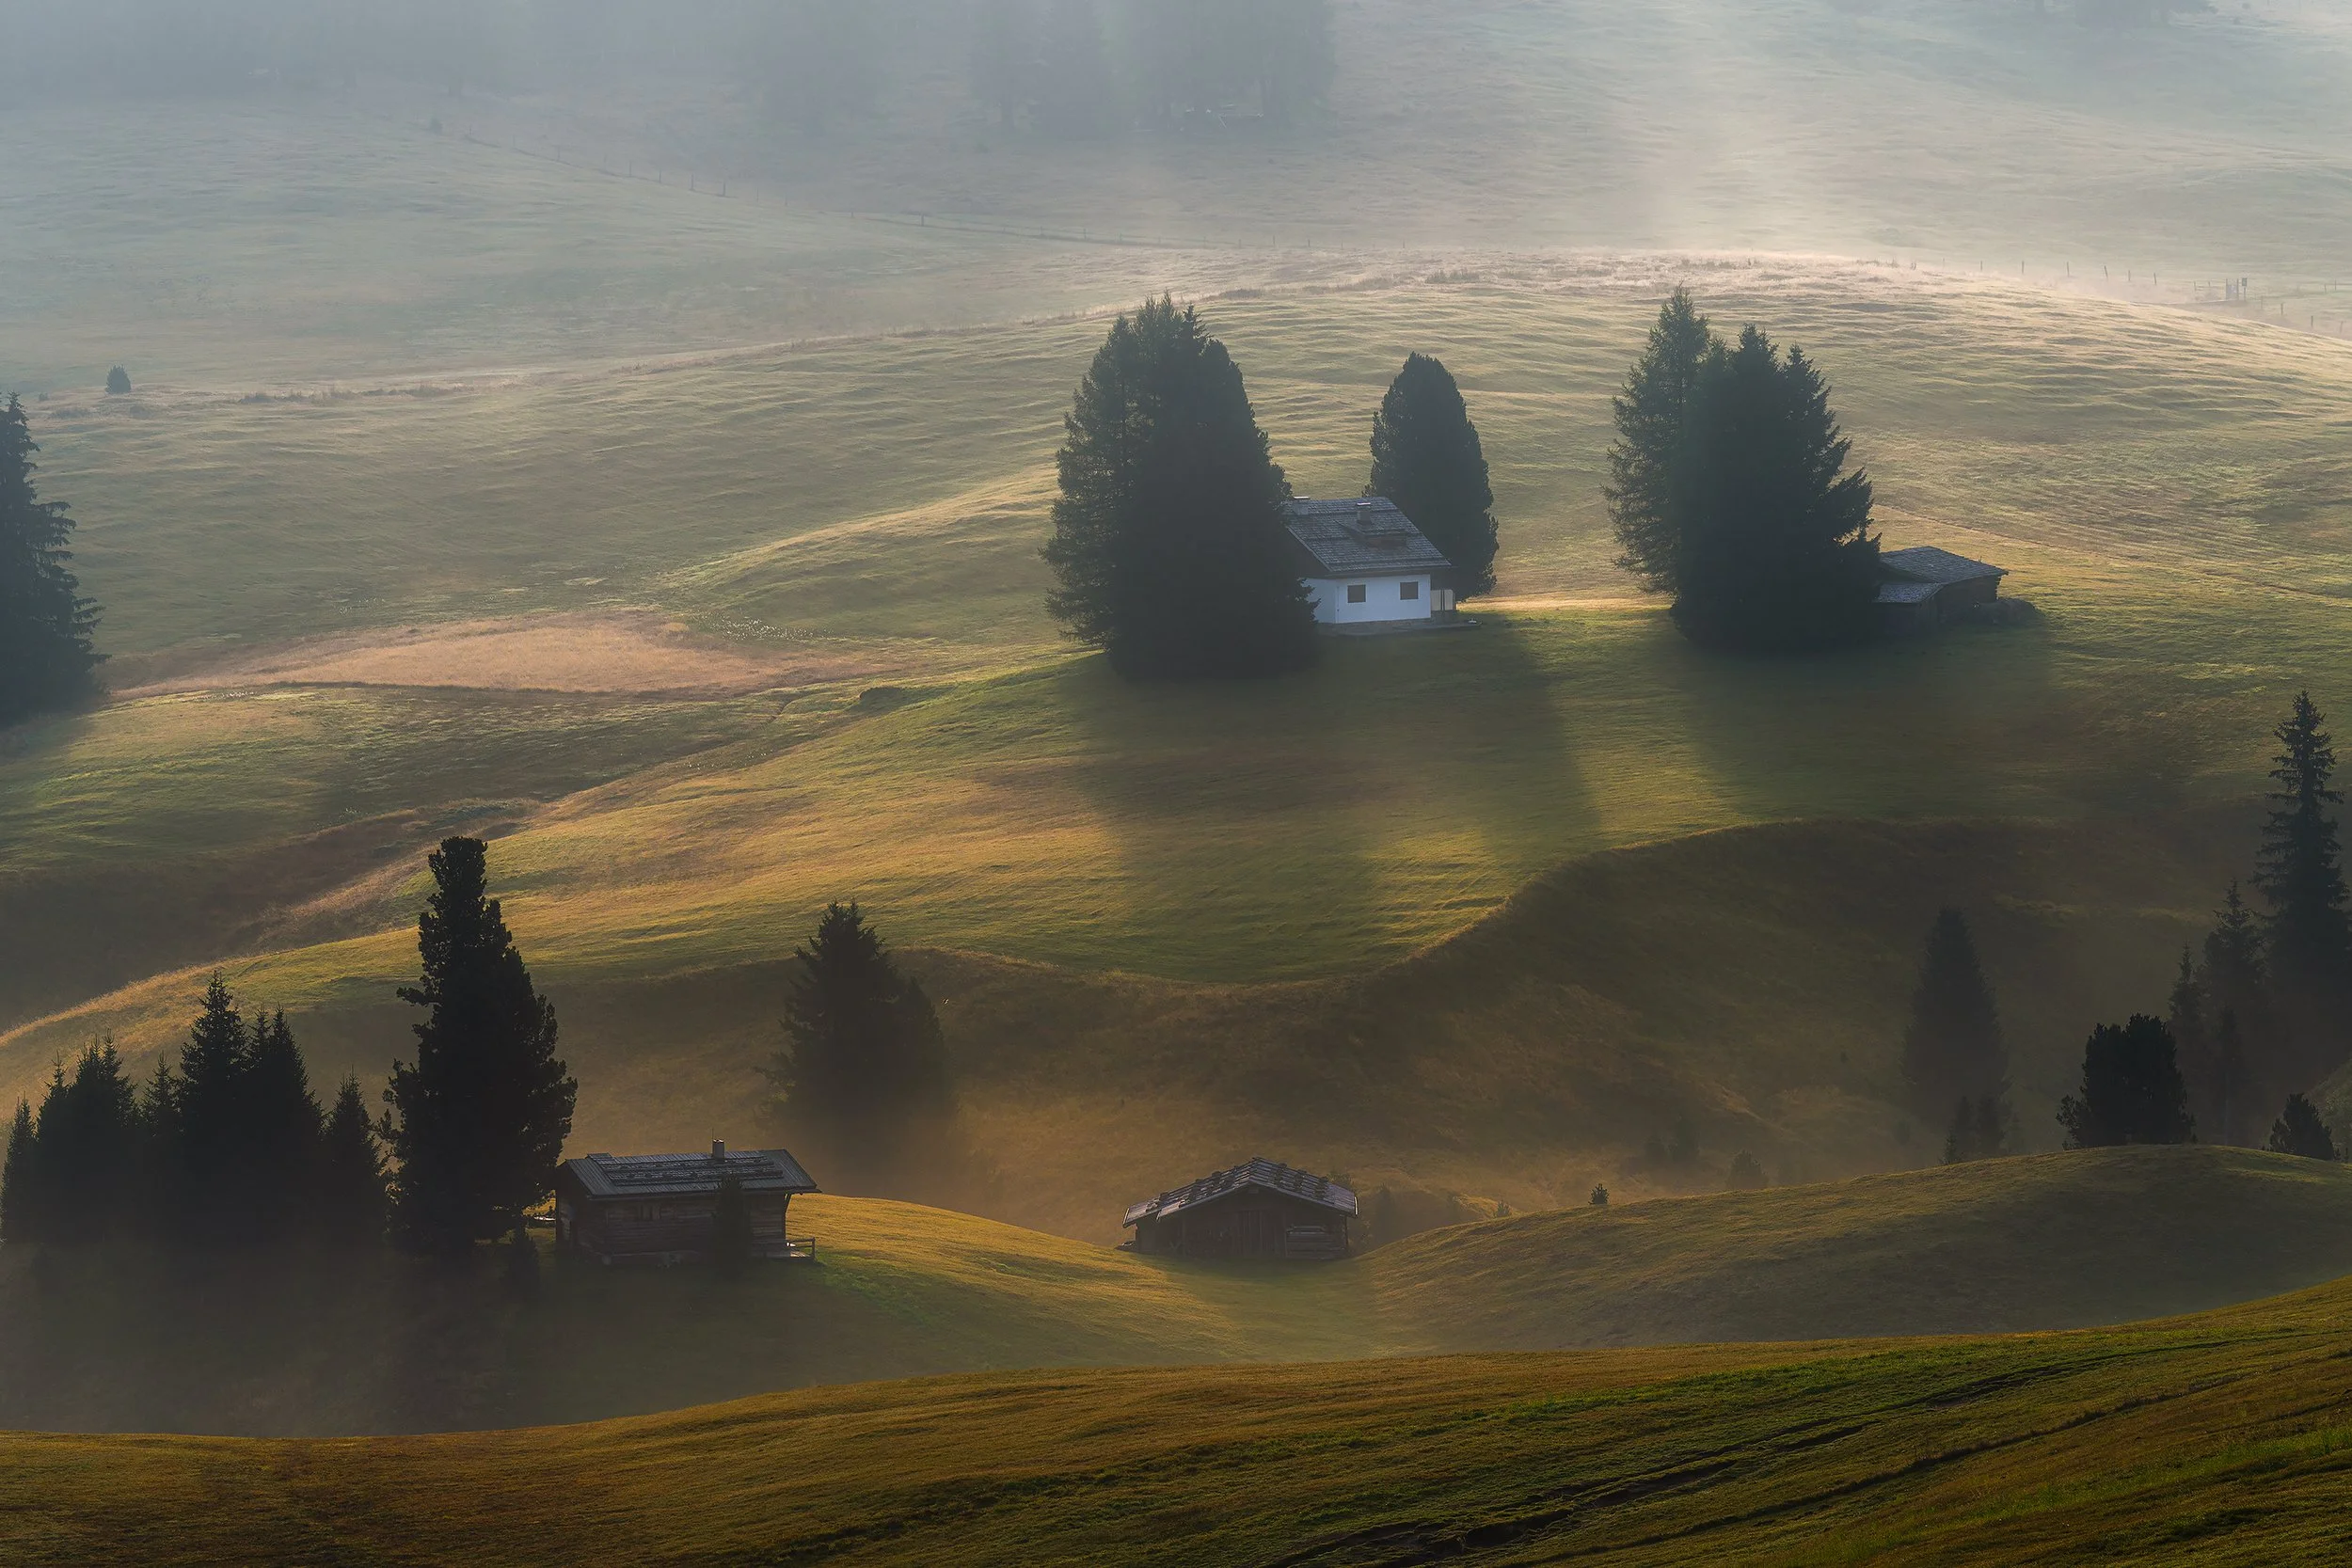
Day 5: Alpe Suisi
Day 5: Seceda
After breakfast, and a short nap, we headed to Seceda.
Day 5: Saint Maddalena
After lunch and a break, we headed to Saint Maddalena for our evening session.
Day 6: Sunset at Baita Segantini
Unfortunately I forgot to set my early 5:00 am alarm. I awoke to the sun just peaking under the curtains, and when I say it was 6:30 am I was too late for the early morning shoot. After an expert editing session with Leo and a good lunch, we made preparations to travel to Baita Segantini. Below is a short video that does a great job of show casing this fantastic area as well as showing the location for the shoot, which was on the far end of the lake you see in the beginning looking at the lodge on the opposite side.